The Negative Stitch
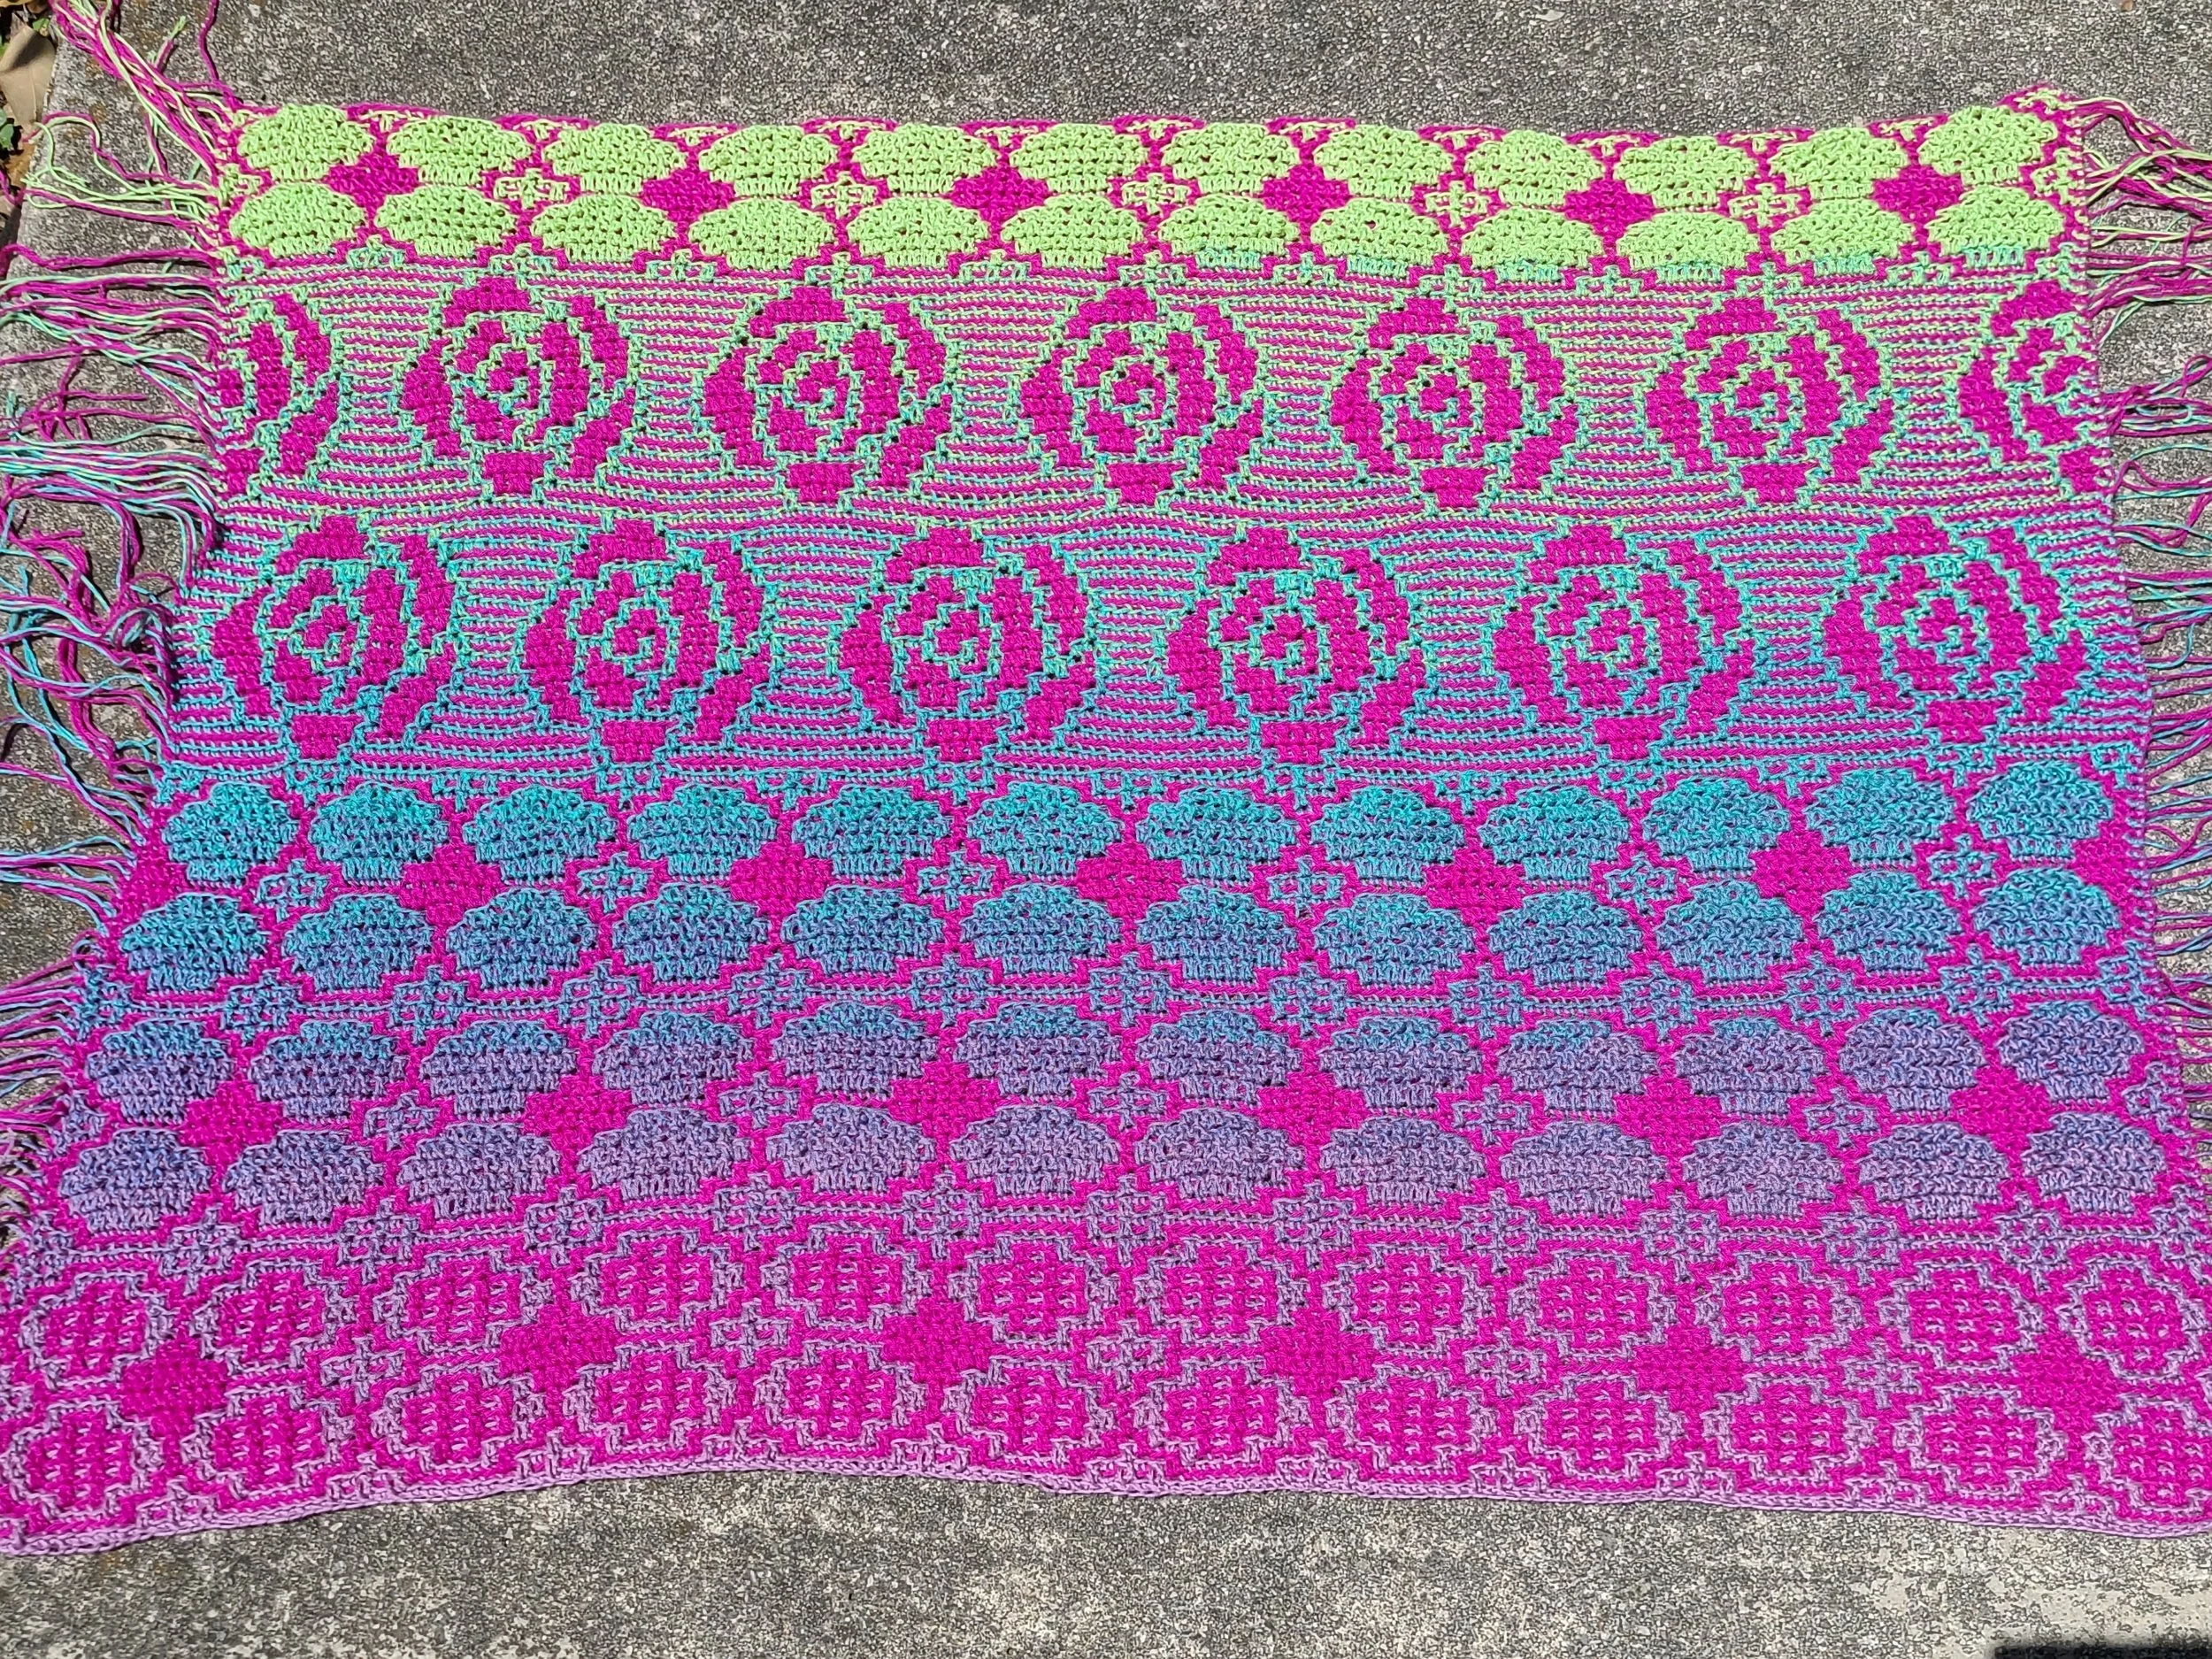
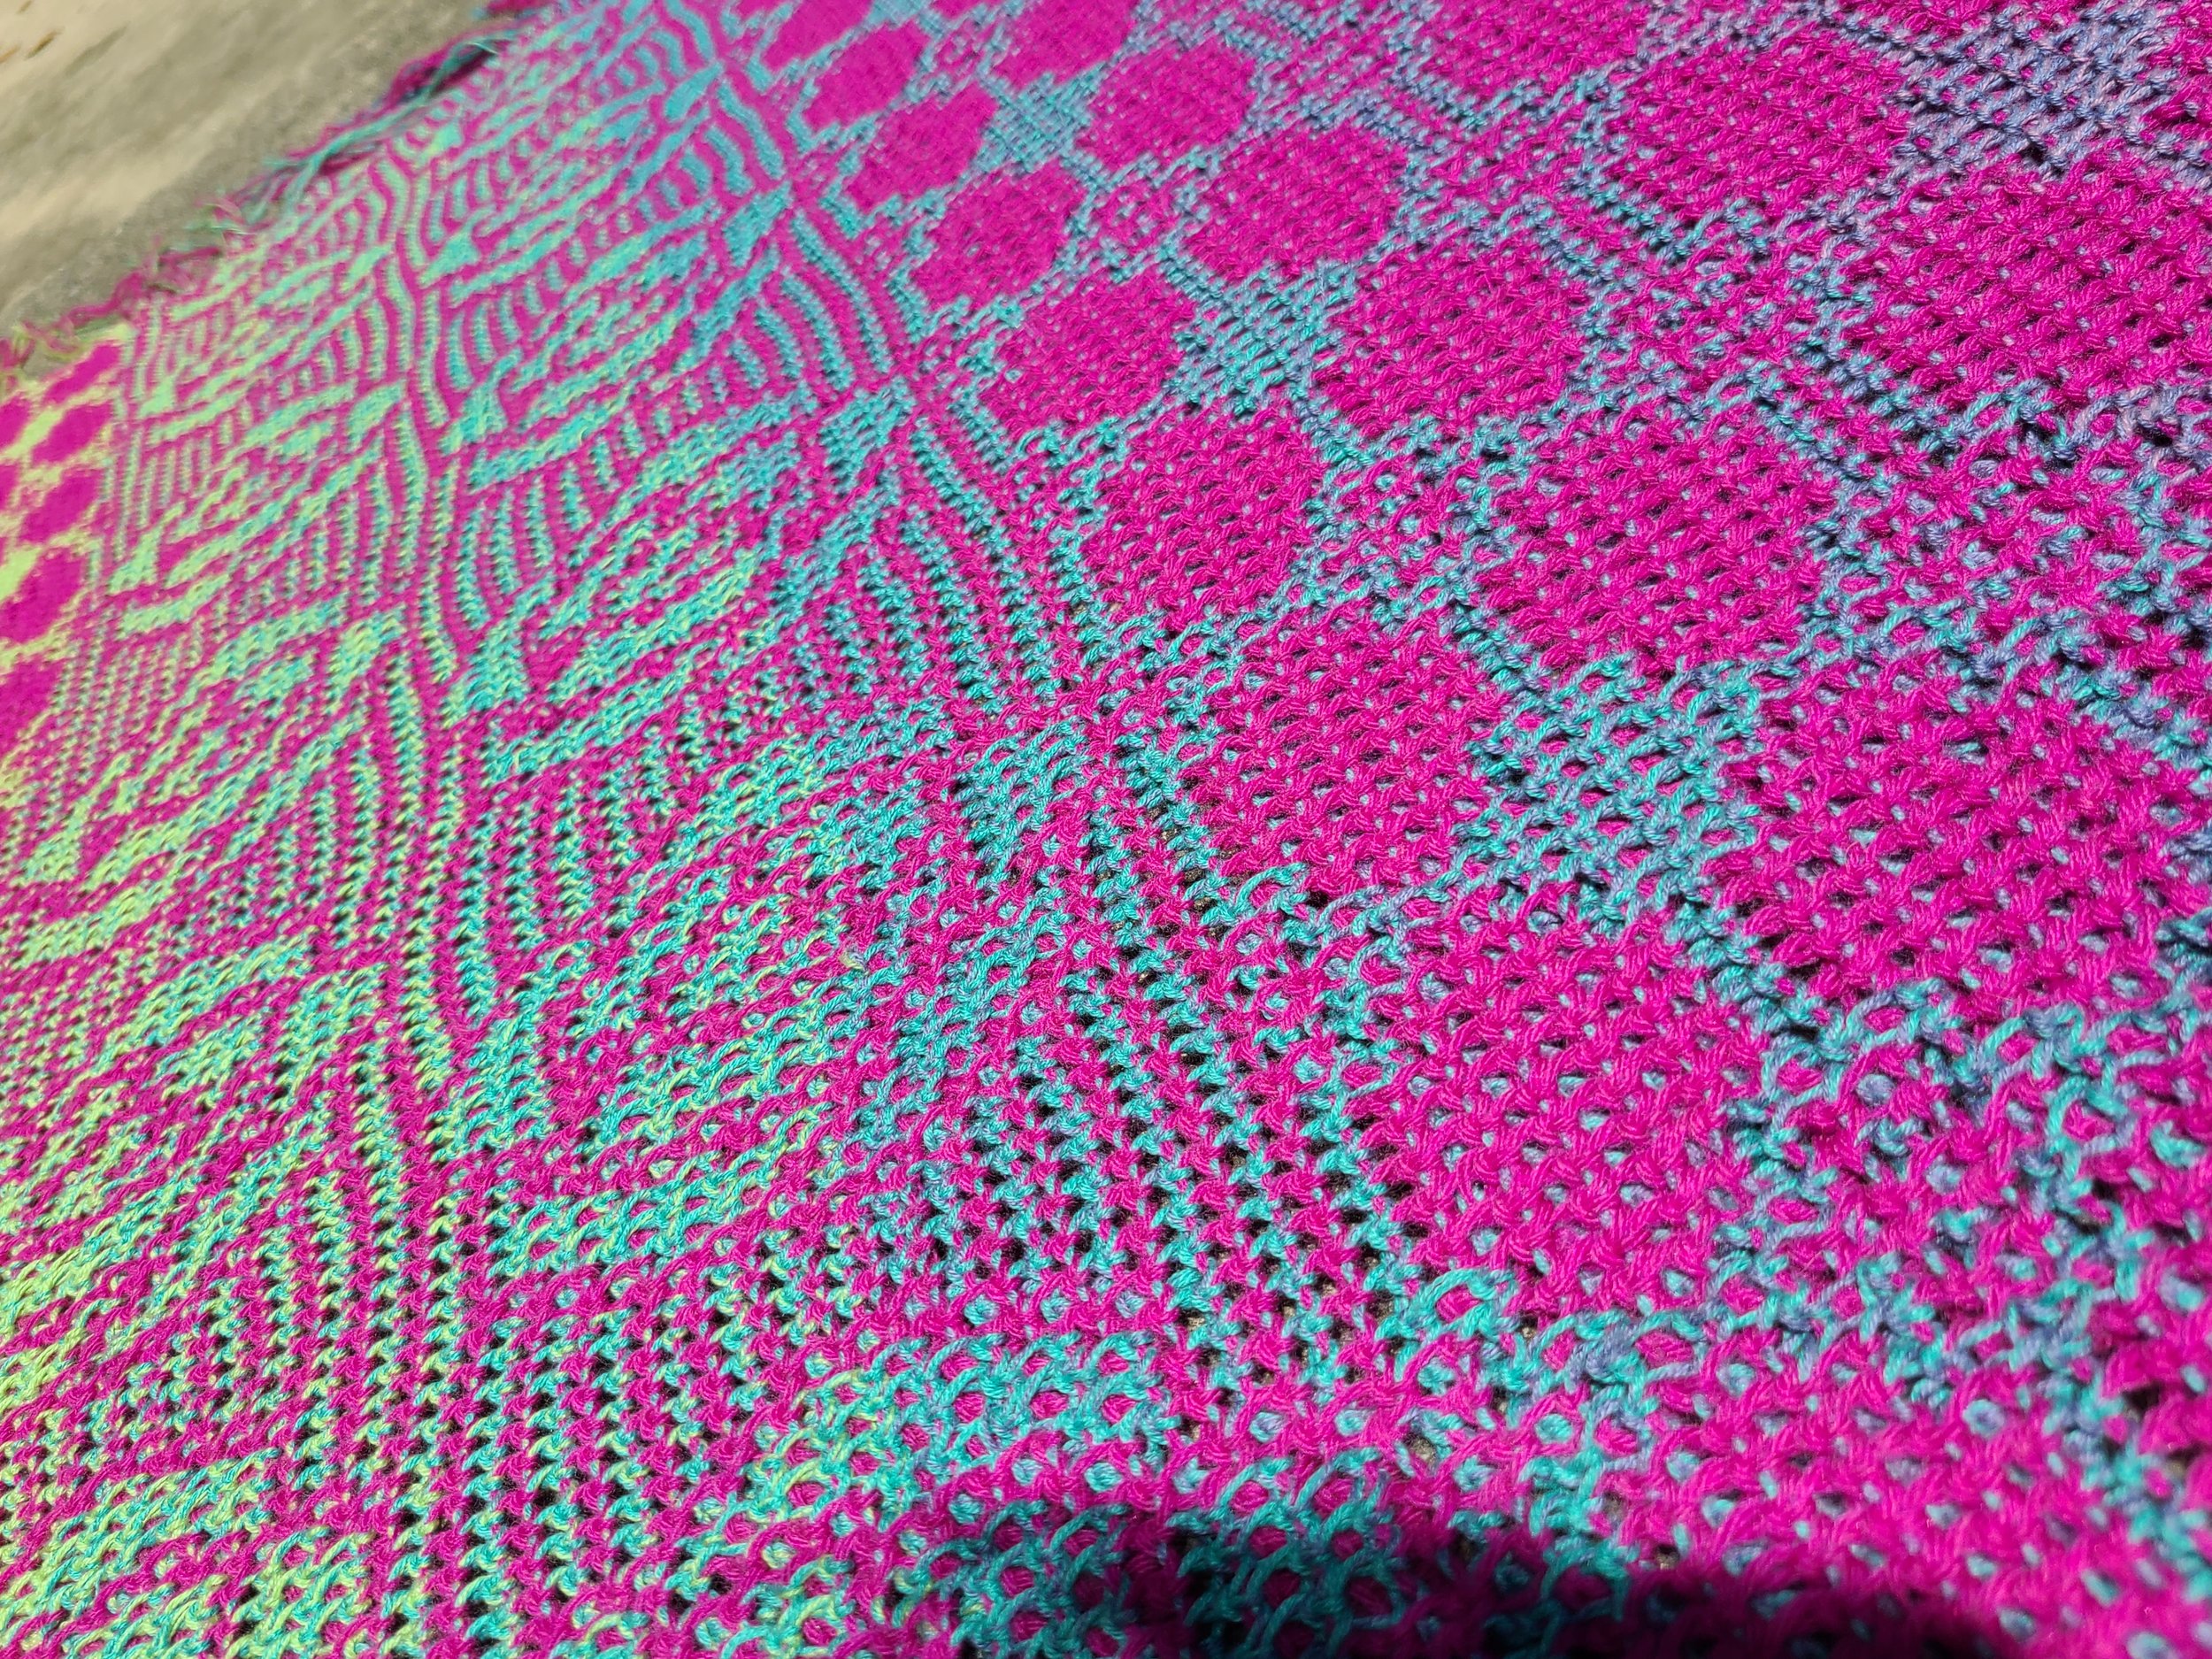
When I first learned to crochet in the overlay mosaic form, it was from my grandmother, using a pattern and technique that didn’t have a name in the 80s. Or at least, my grandma didn’t have a name for them. What she did have, was a technique that eliminated the pockets overlay creates on the back of every project. While those pockets may not be annoying to some, I was not liking the long rows of pockets that some patterns created. So she showed me how to remedy that all those years ago!
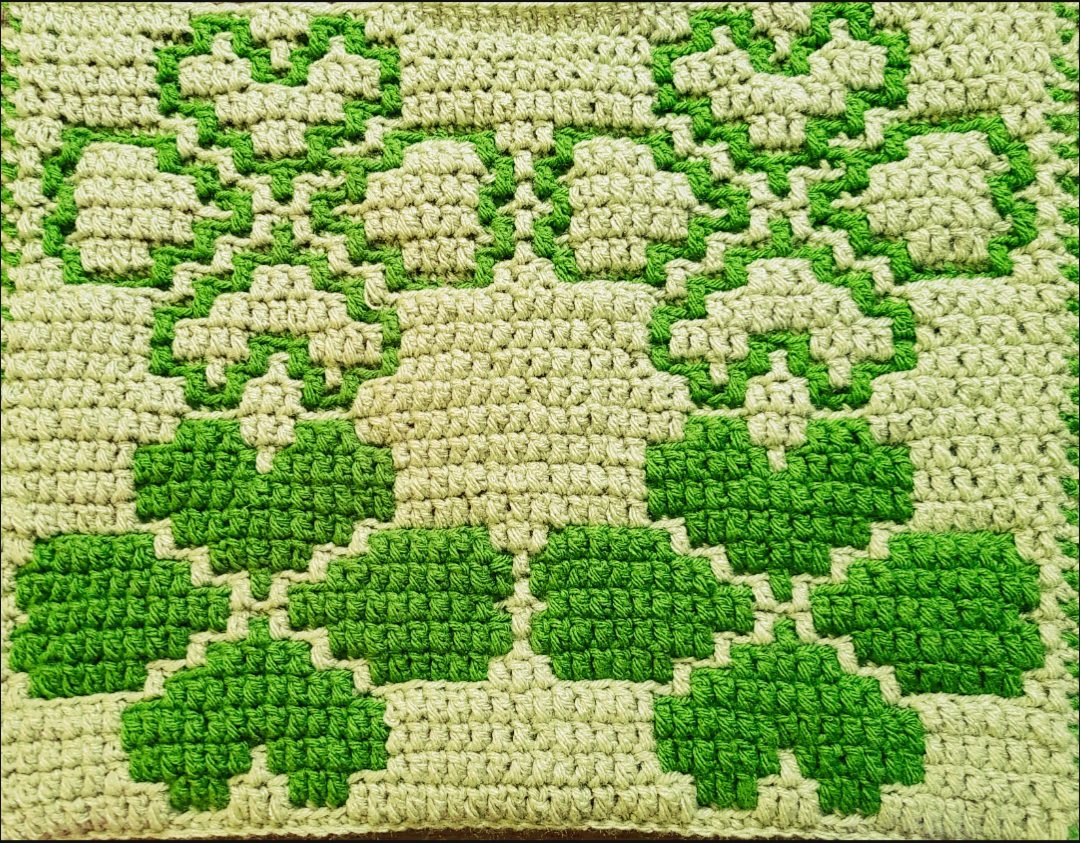
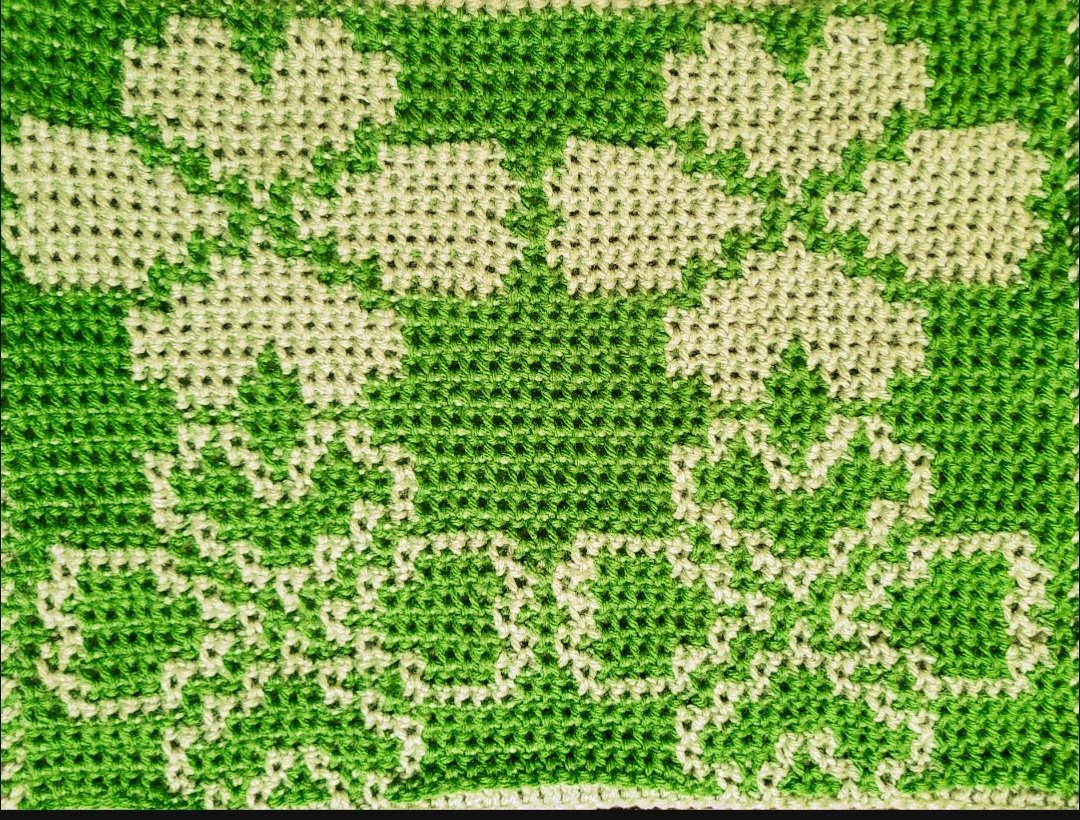
Once I began overlay mosaic crocheting again a few years back, I remembered the lesson and have exclusively used this extra step to eliminate those pockets on every project I’ve created since. This technique doesn’t use much extra yarn, doesn’t pull your stitches too tightly together, and actually creates the negative image on the back of any overlay pattern you are crocheting. Best of all, it is so easy and once you learn it, your crocheting speed isn’t impacted because the piece seems to naturally set itself up for this technique.
This picture tutorial will show you how to use what I have called the Negative Stitch. If you would like to watch a video tutorial on the Negative Stitch, please go to Spanish Clover Crochet YouTube channel to view a tutorial showcasing this technique. https://www.youtube.com/c/SpanishCloverCrochet

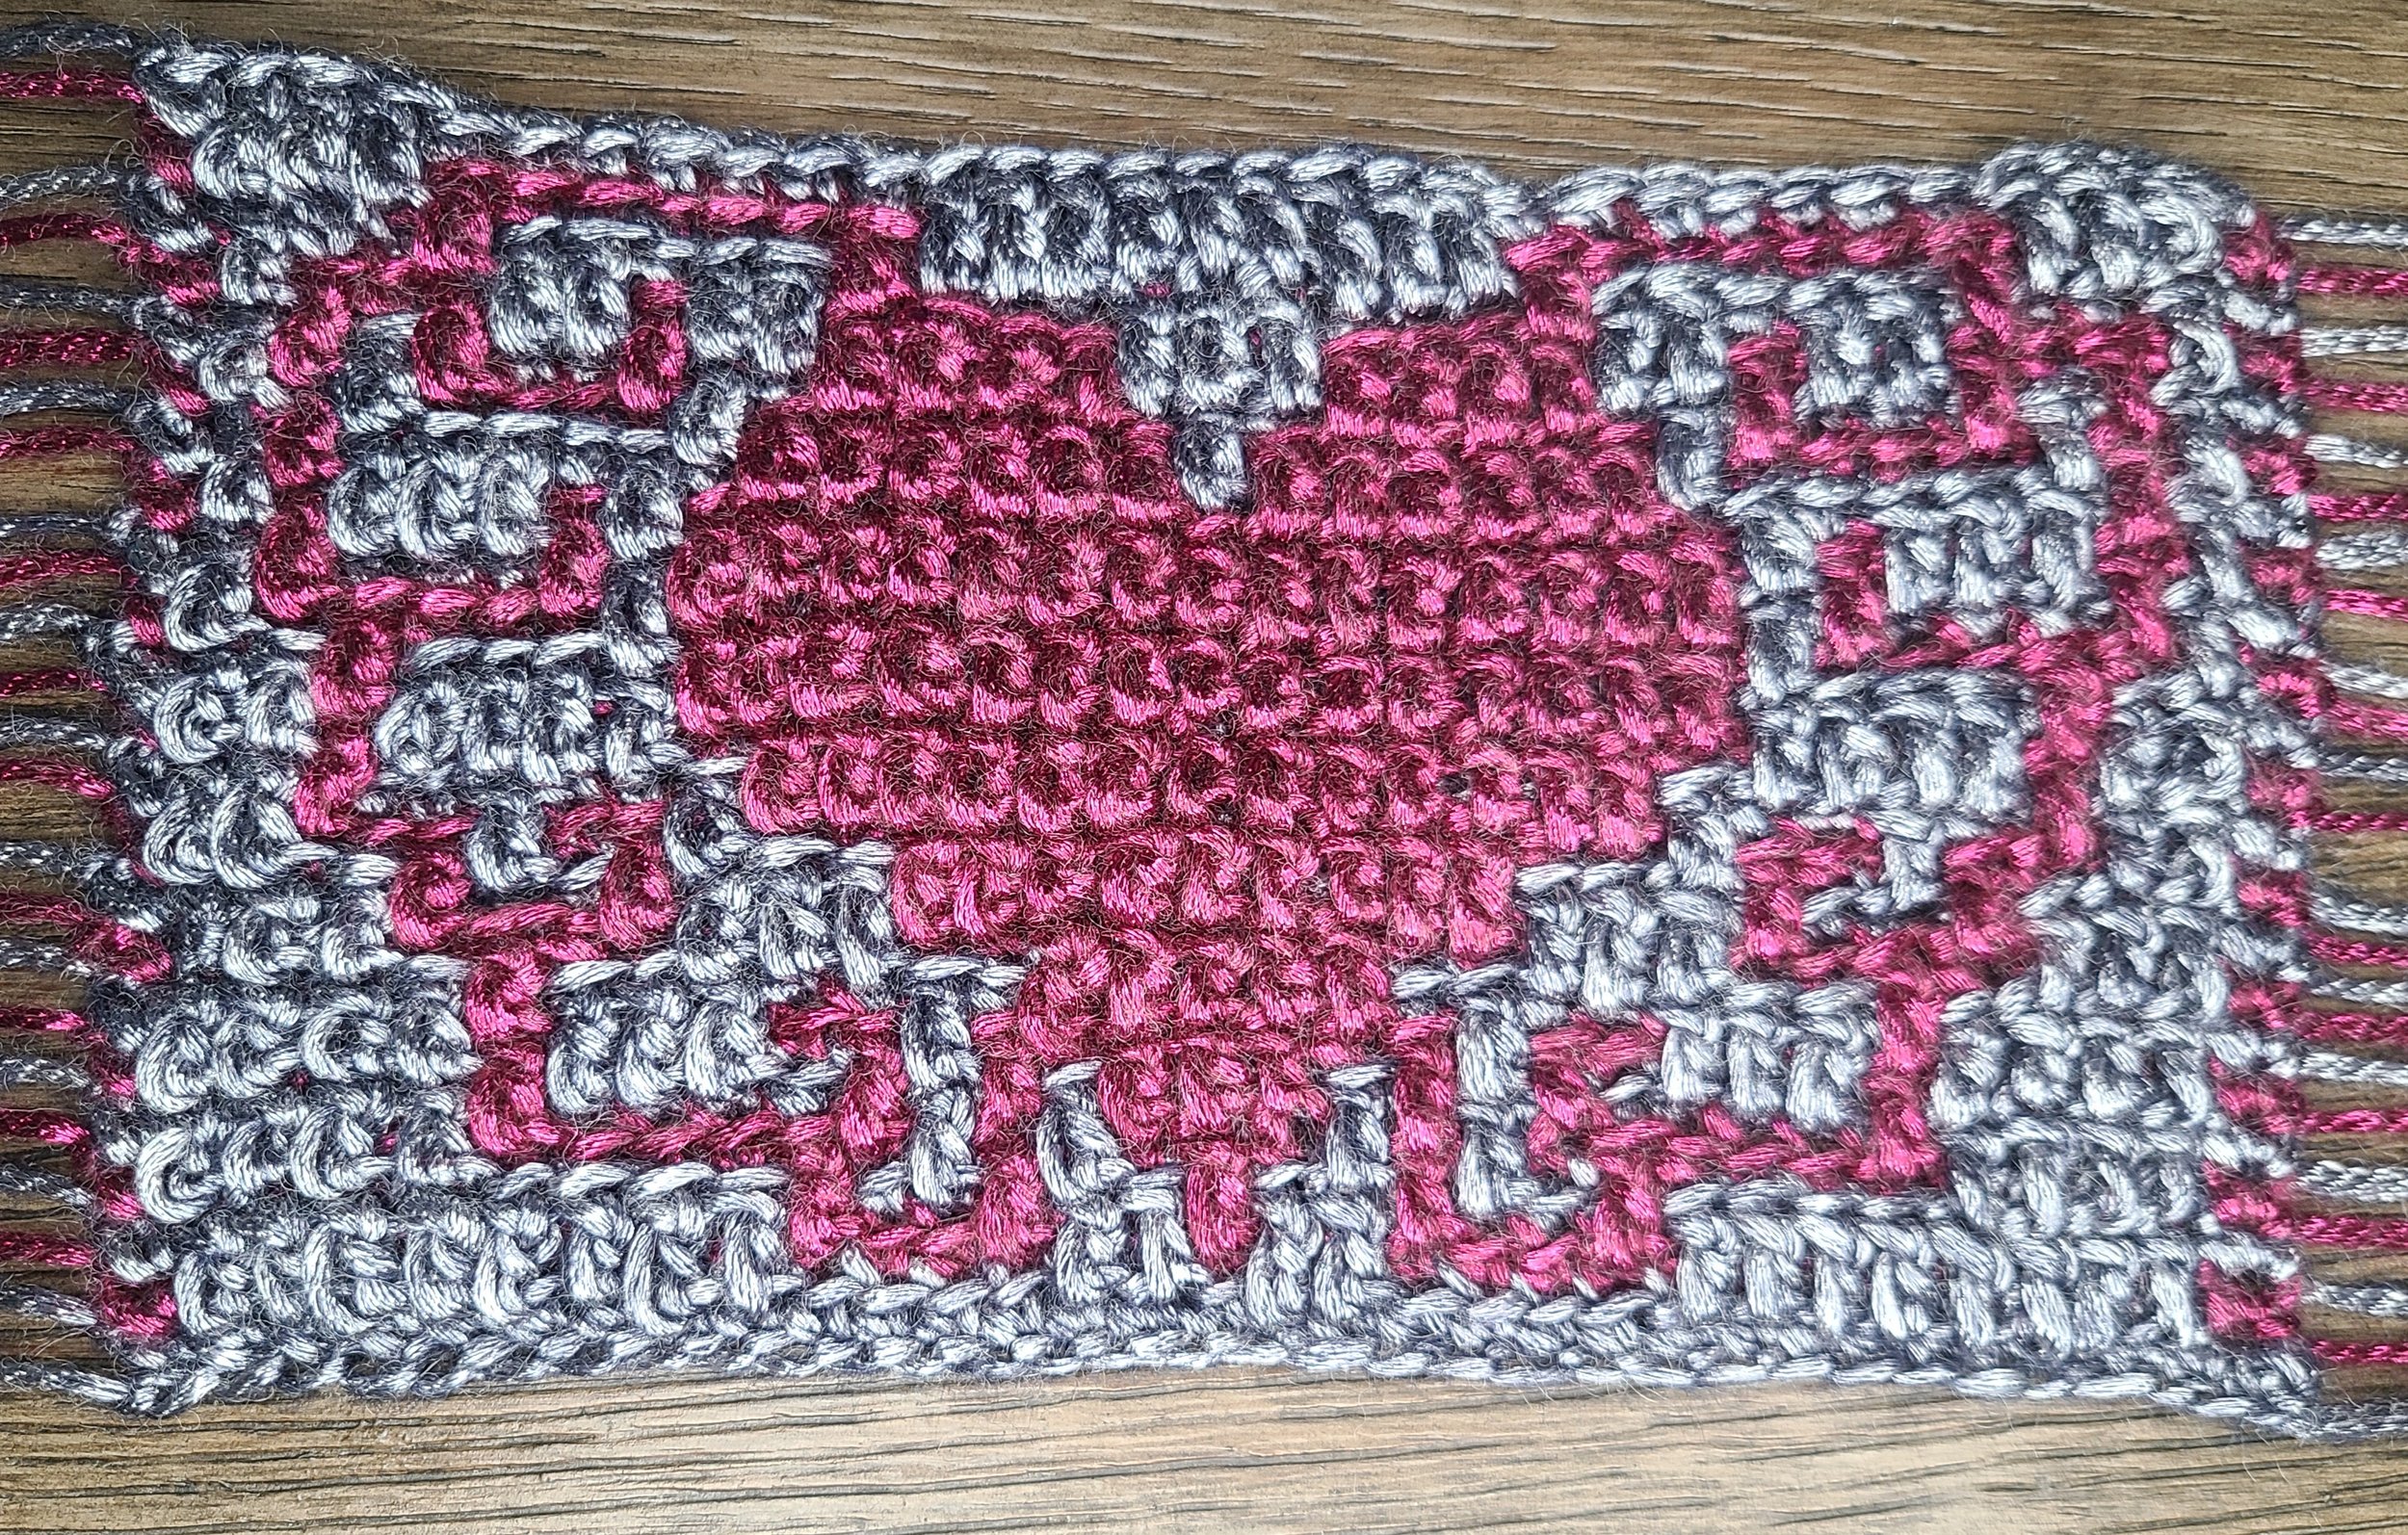
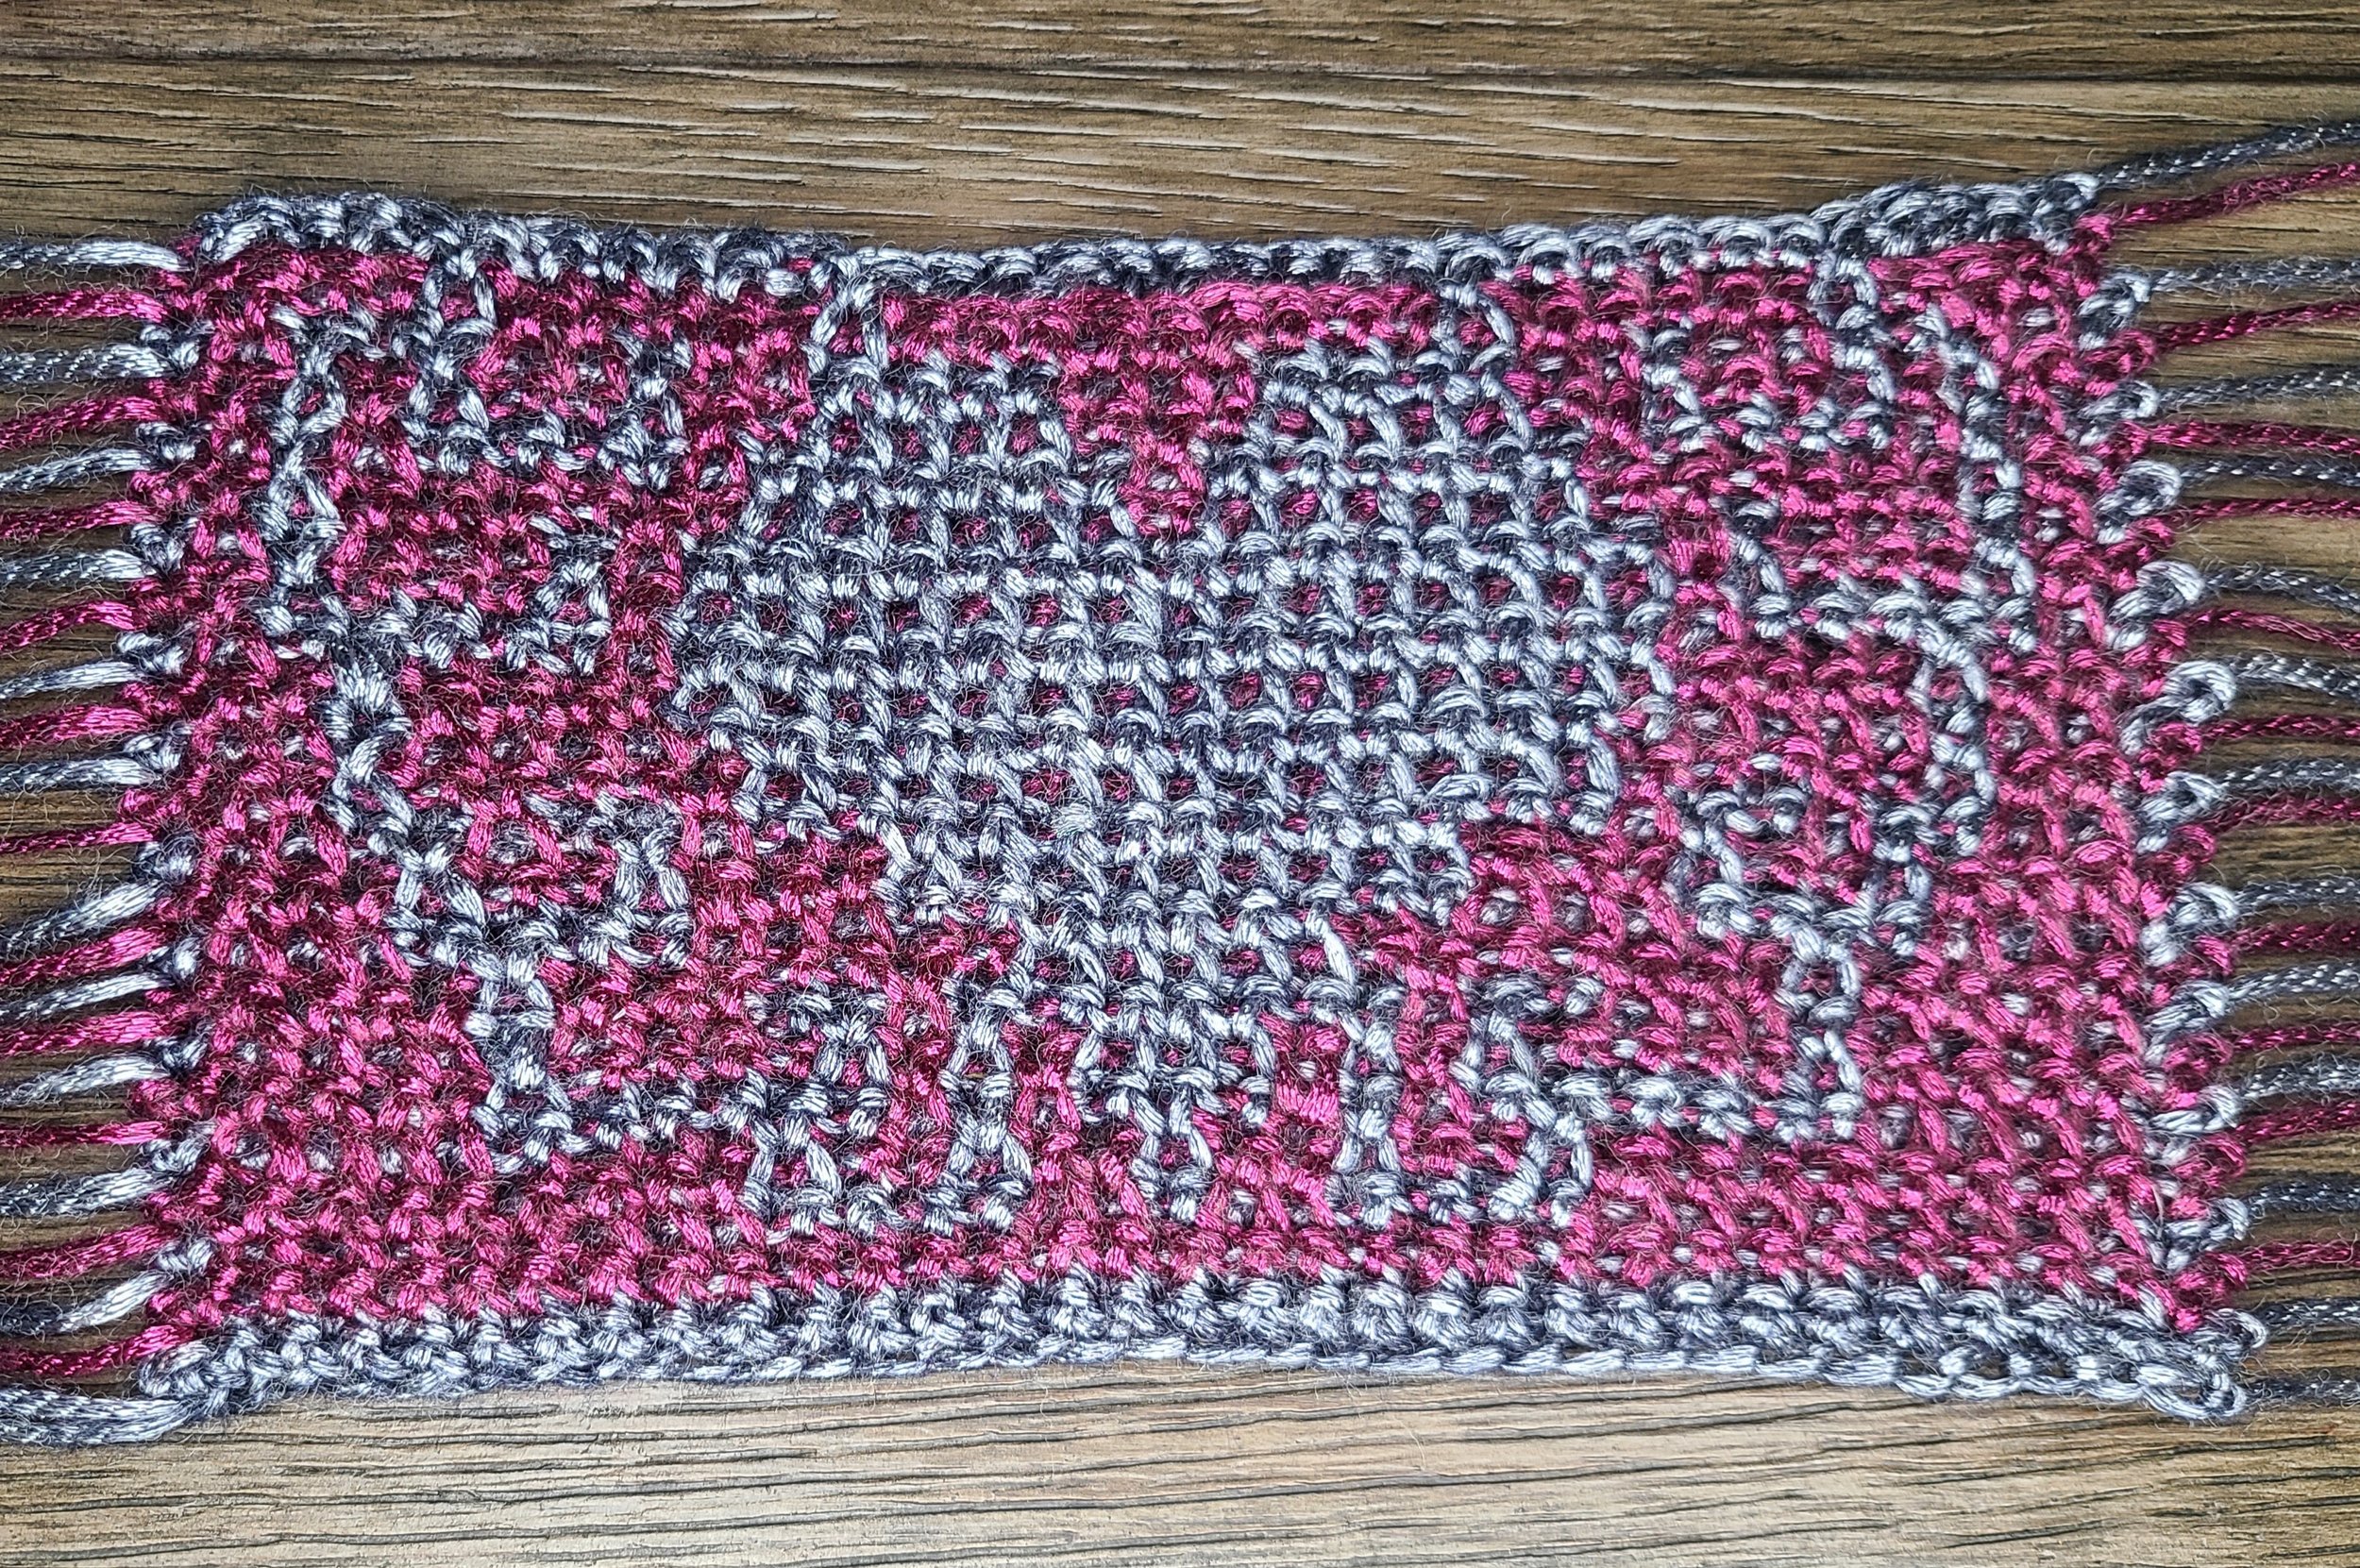
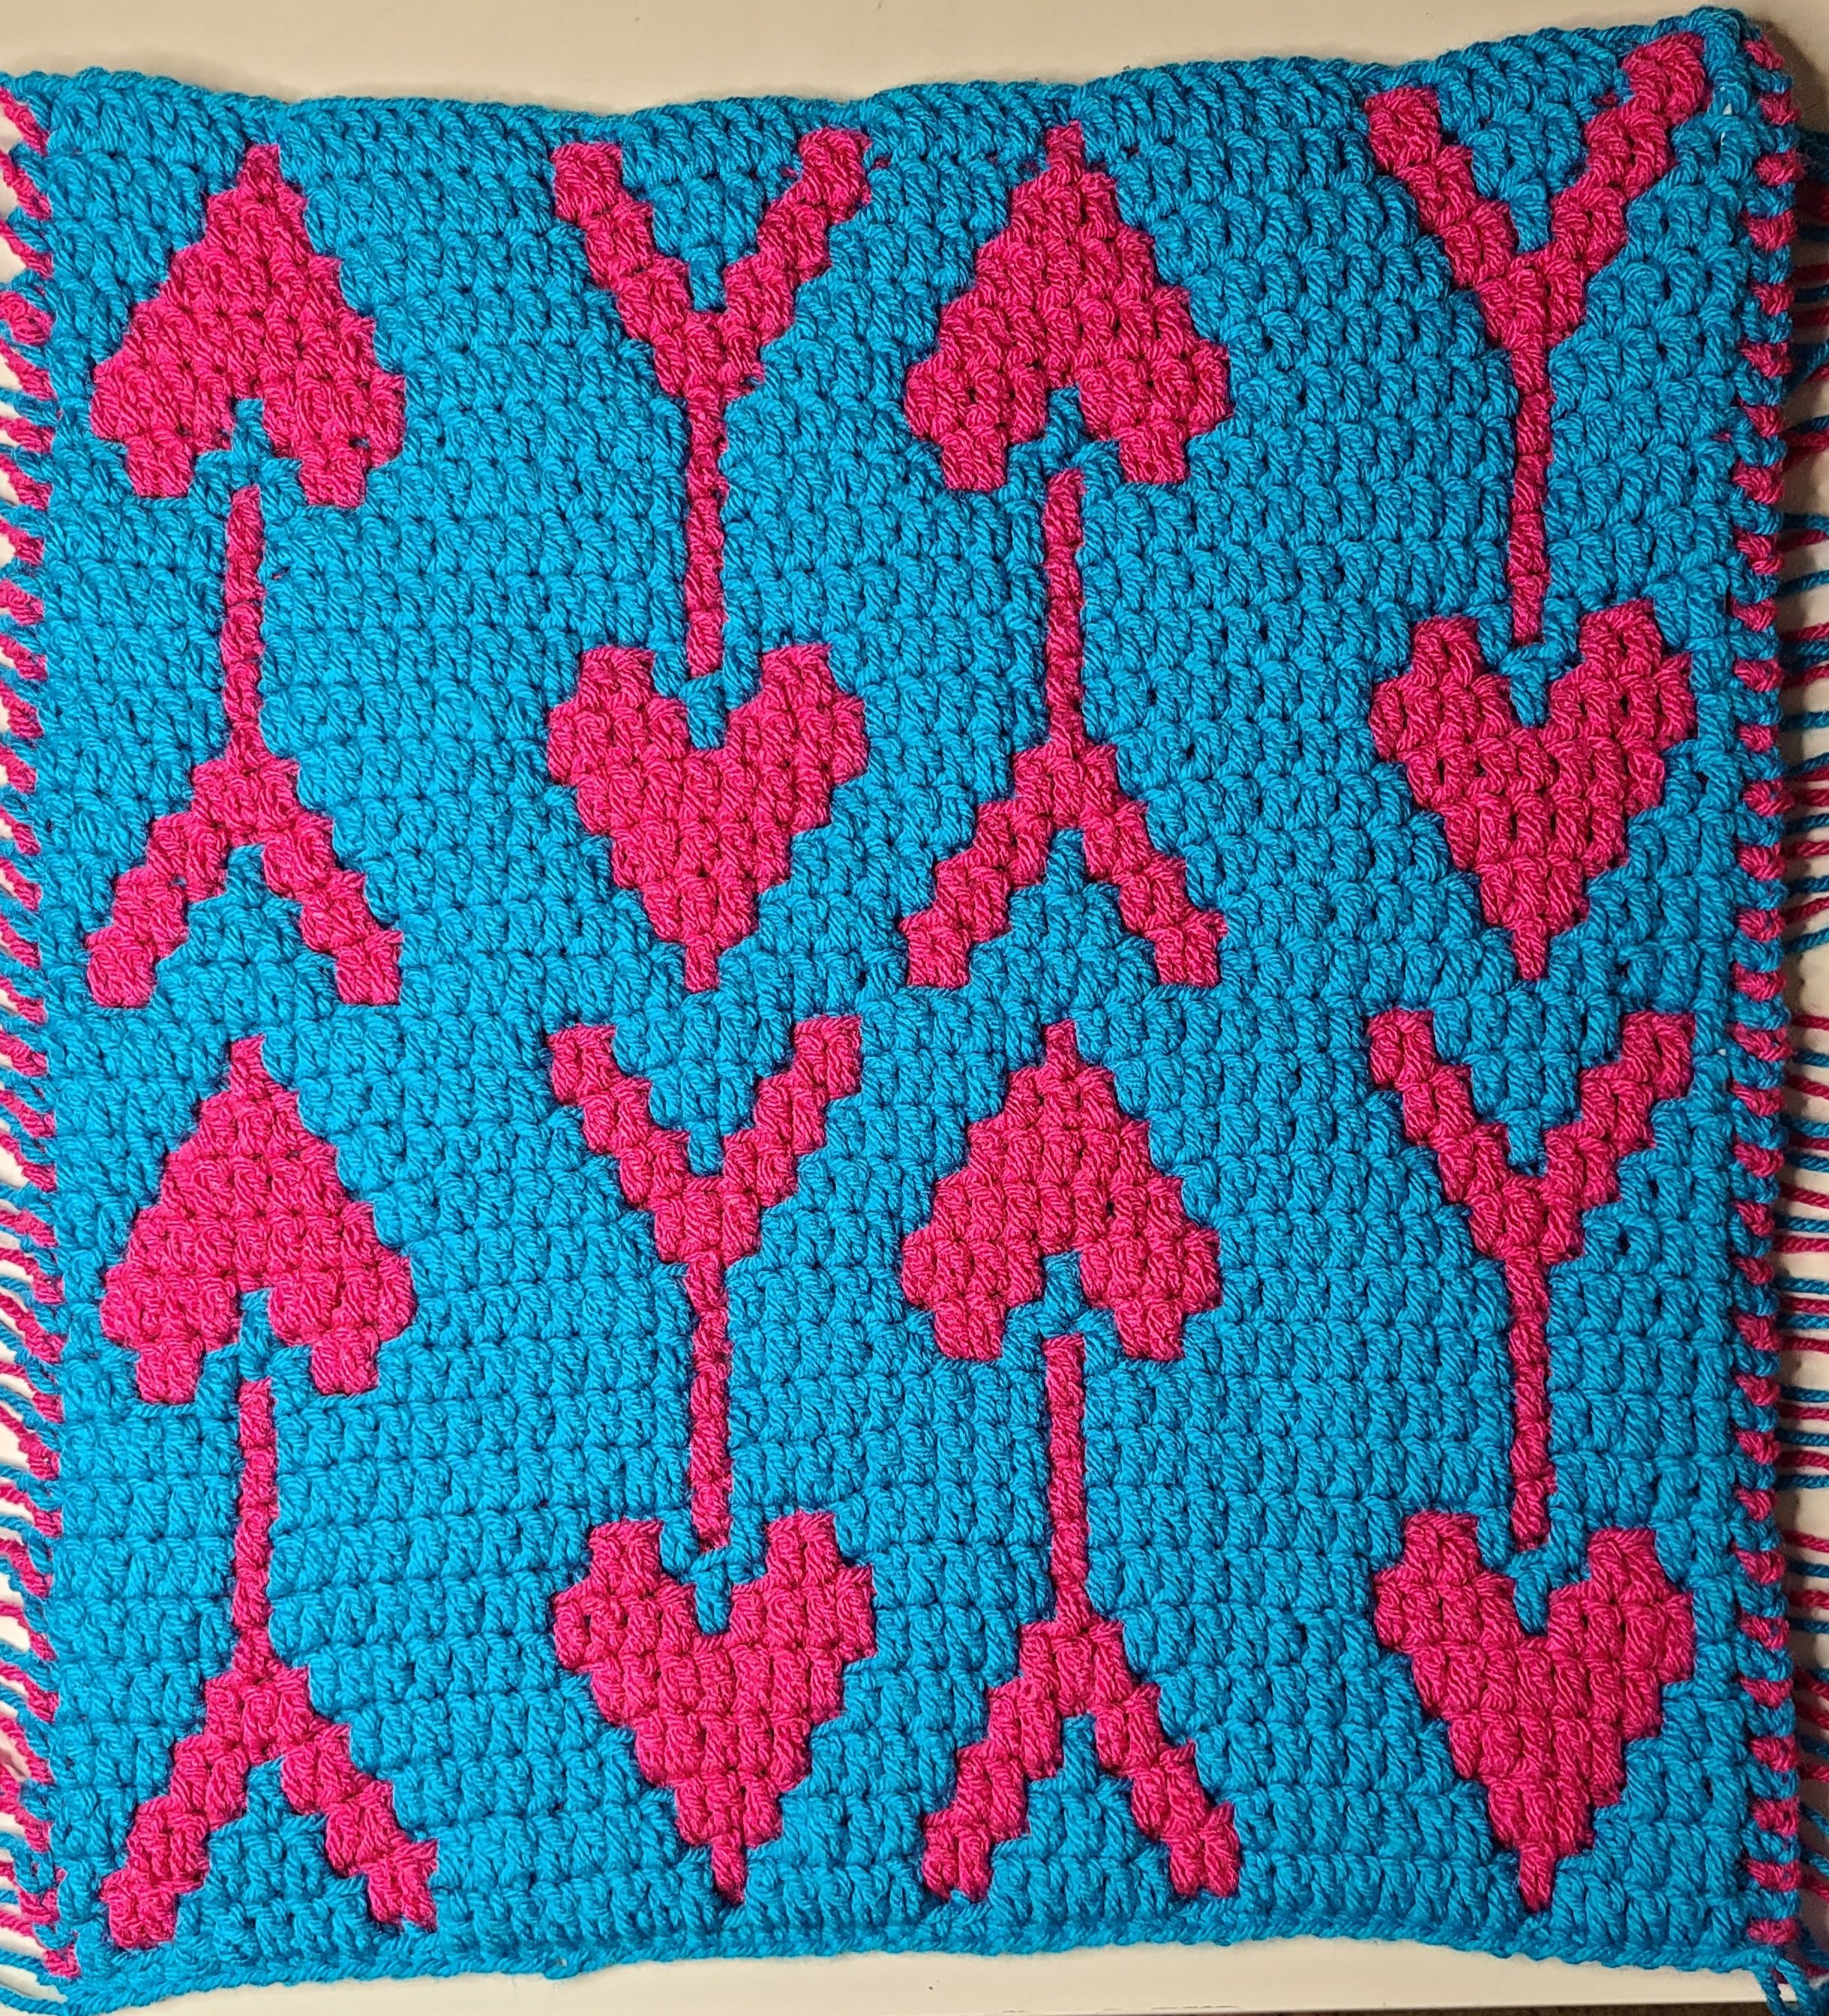
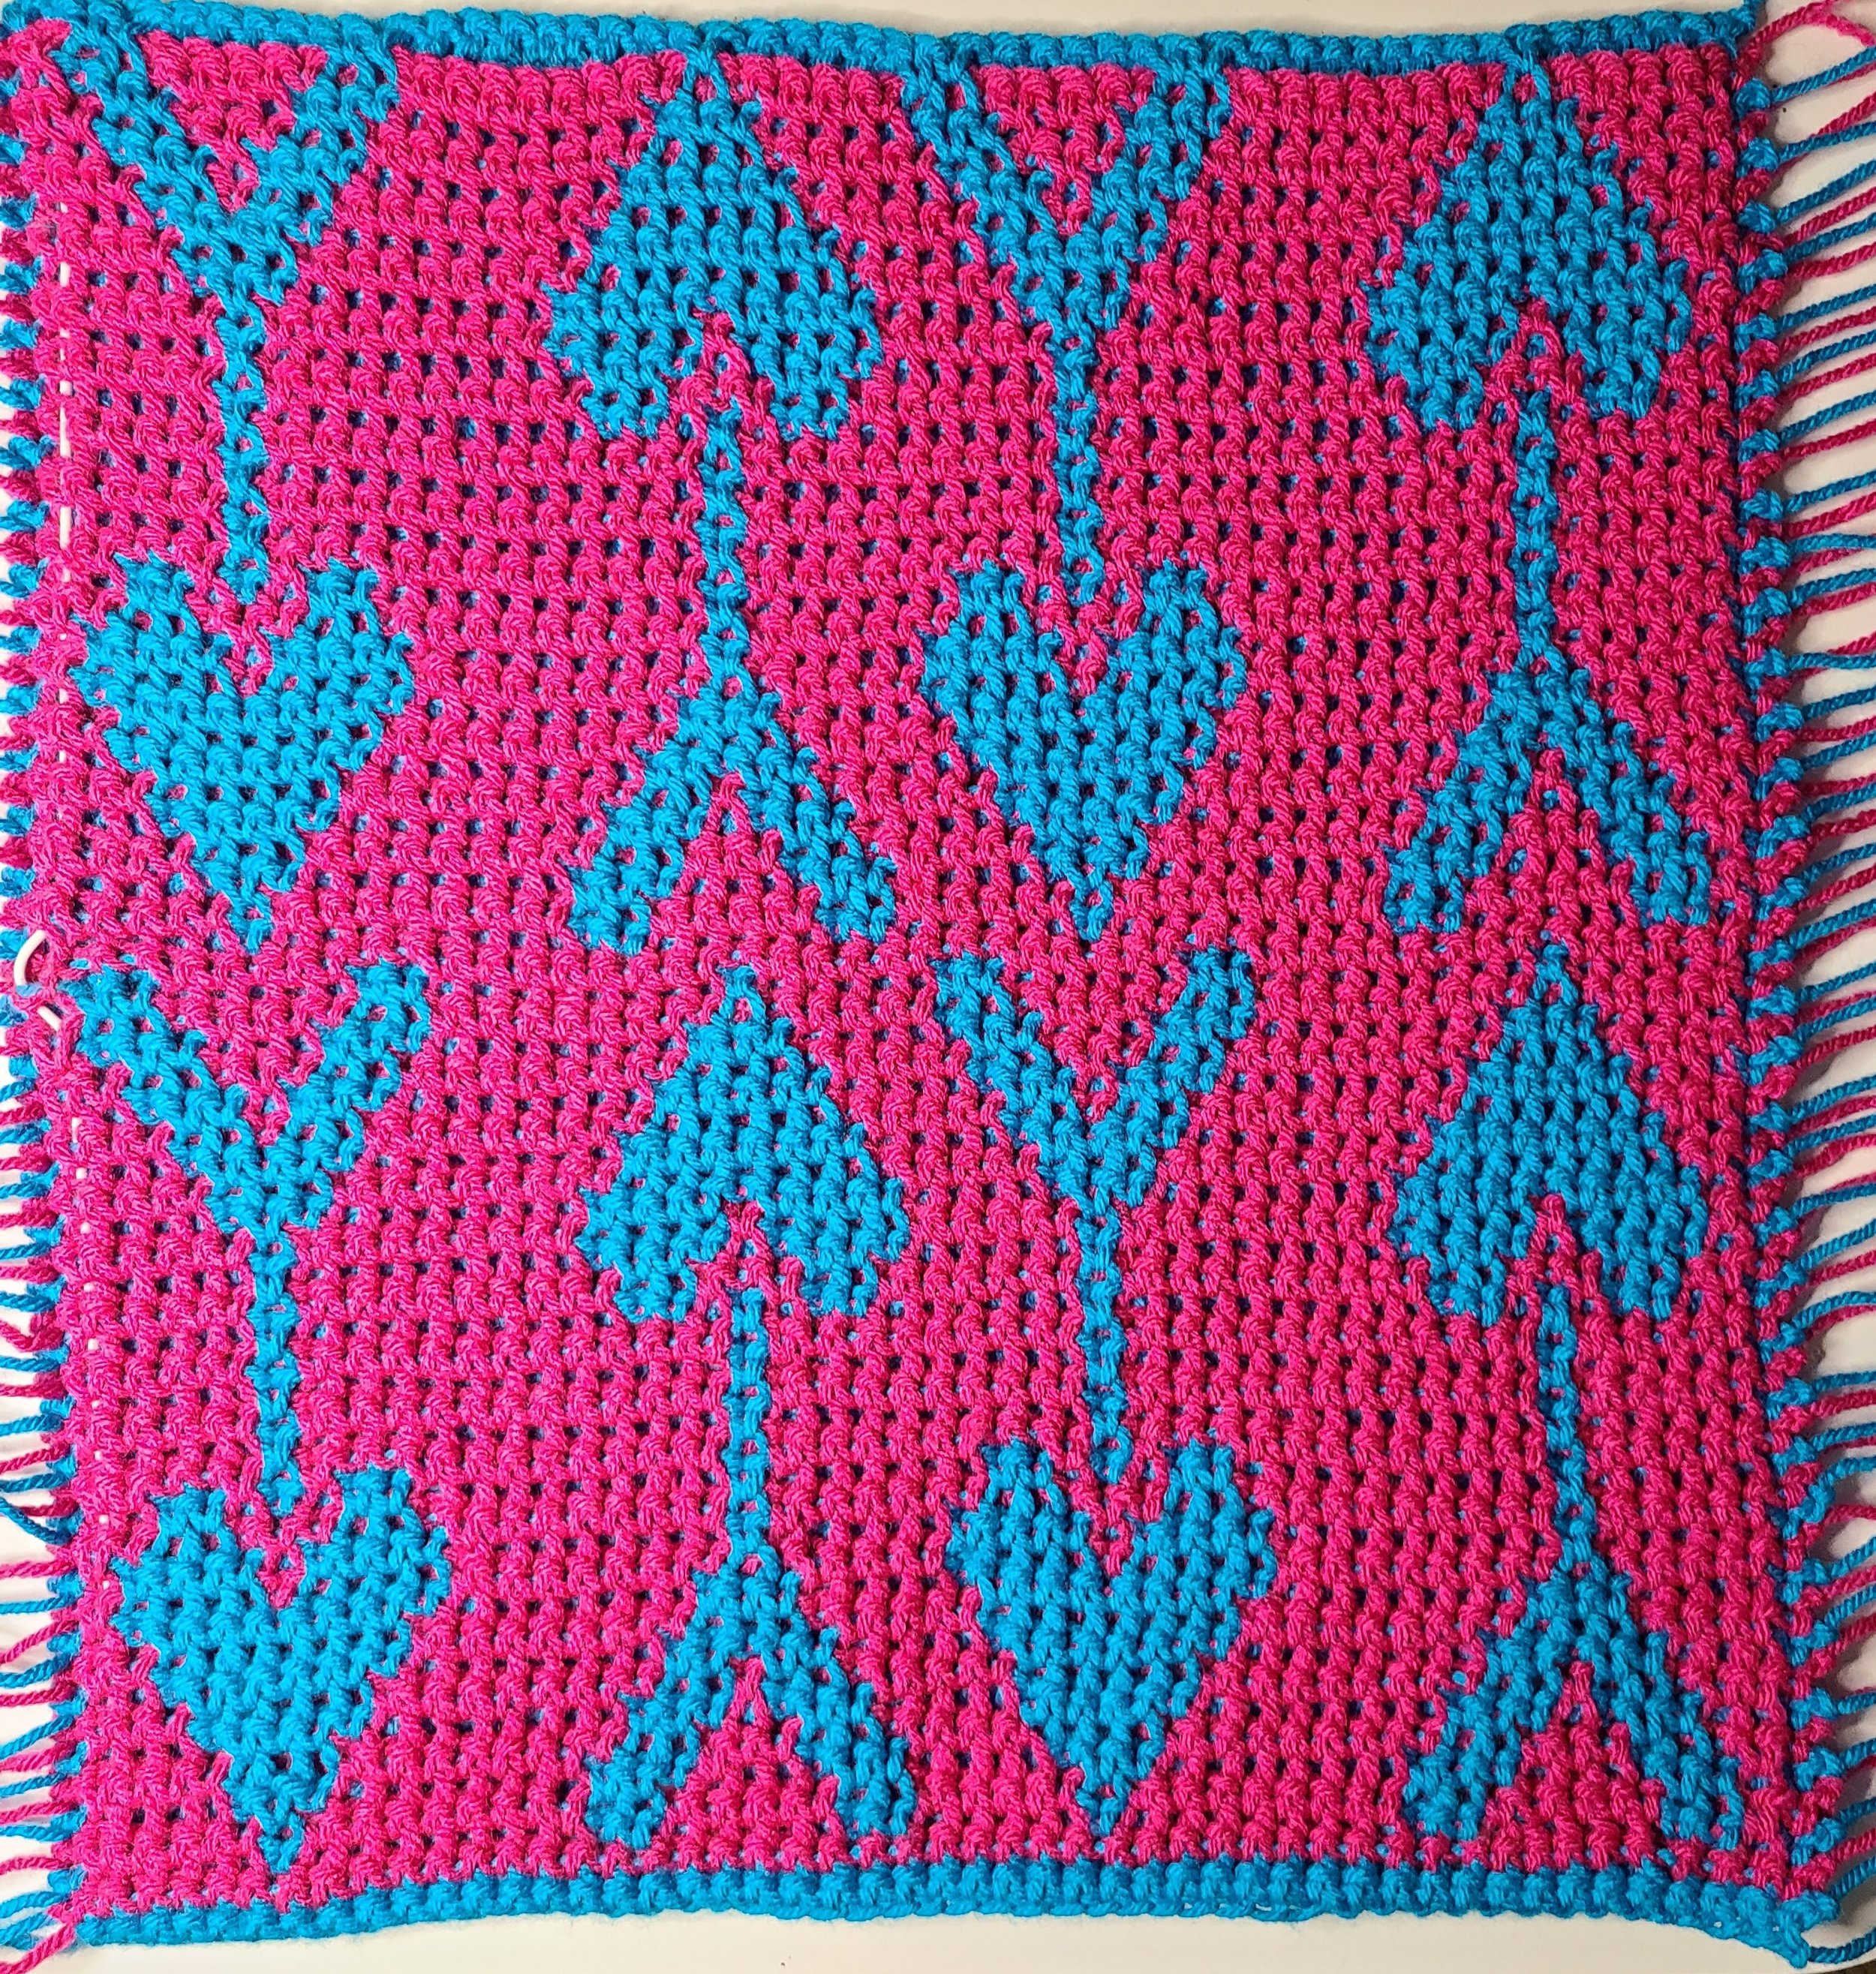
The Negative Stitch is only used where you have already added double crochets in the previous row. Since DCs are only added to the front of the work, that creates ridges, or unused tops of stitches on the back of the work. As you can see in pics 2 & 3, the only DC in the row has left open loops on the back of the work. You will be picking up that back loop of the same color 2 rows below.

Insert hook into back loop of the DC. On the back of work, drop down to the row of the same color and insert hook into the exposed back loop. Pull up yarn to create the typical SC on top of the DC.